Add Job Instructions

1 – Tap on the “Jobs” tab at the bottom of the screen to navigate to the Jobs view.
2 – To add a new Job tap on the “+” button in the bottom right corner of the screen.
* Please fill out to the best of your ability. Fields that are marked with a “*” are required. If you do not have the required information, please contact the SME Project Manager. If the field is not required and you do not have the information then leave blank and inform your project manager of the missing information.
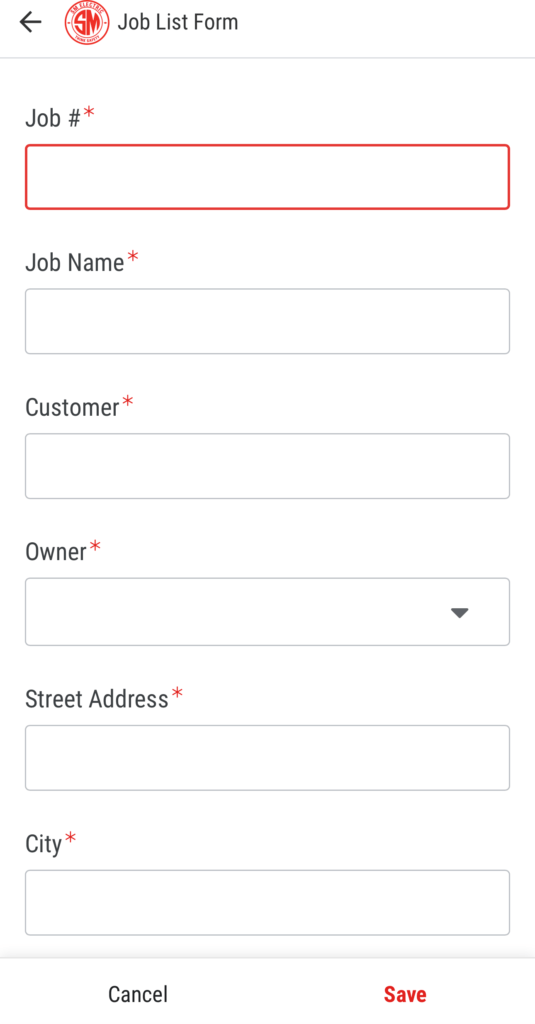
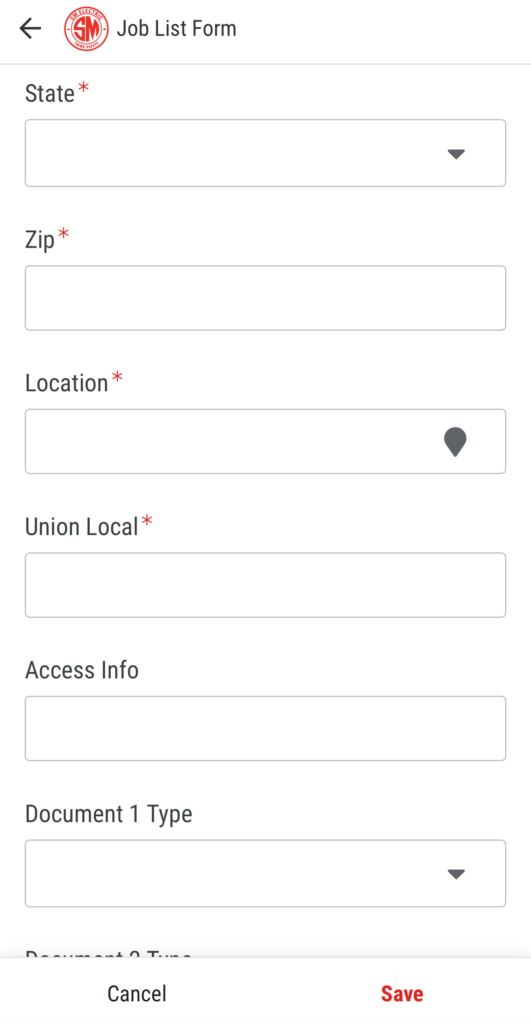
3 – Enter the Job Number into the Job # field. Job number should consist of one capital letter and 3 numbers (examples: E456, T589, W347, etc.)
4 – Enter the Job Name into the Job Name field.
5 – Enter the Customer into the Customer field.
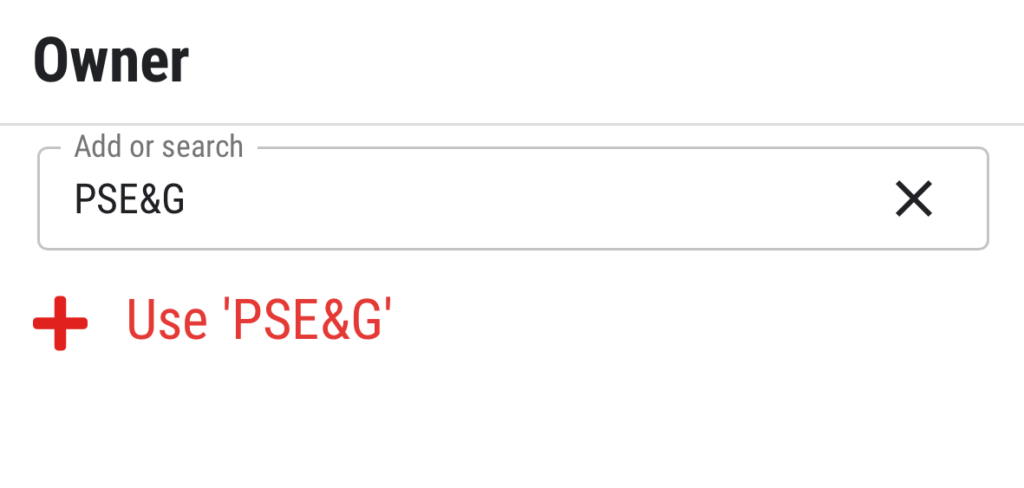
6 – Select the Utility Company/Property Owner from the drop down menu in the Owner input field. If the Owner isn’t there you can manually enter your information in the Add or Search bar at the top and tap + Use ‘*****’
7 – Enter the Job address in the Street Address, City, State and Zip fields
8 – The Location field will auto populate when you tap on it. Location services must be enabled on your device.
9 – Enter the union local territory for the Job in the Union Local field (i.e. 102, 164, 456, etc.)
10 – Enter any specific access info details in the Access Info field
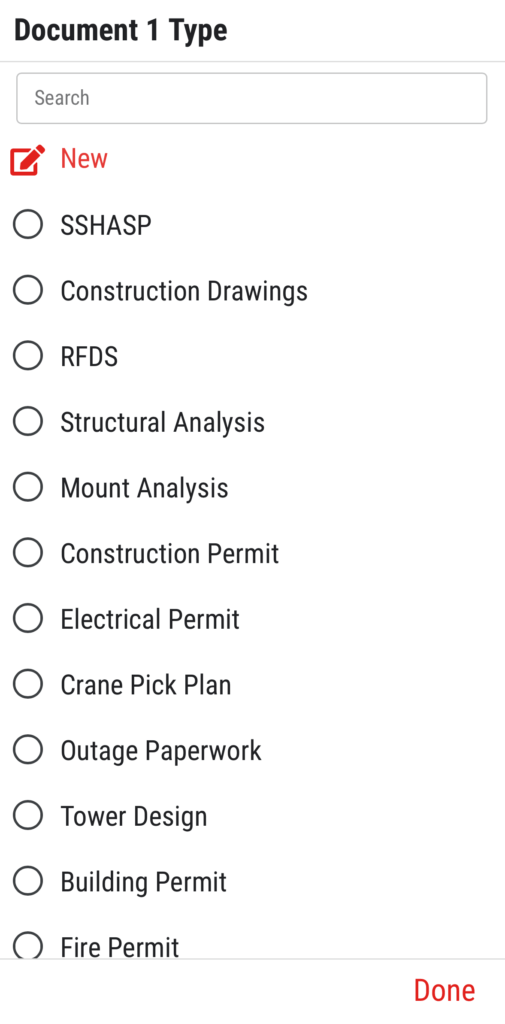
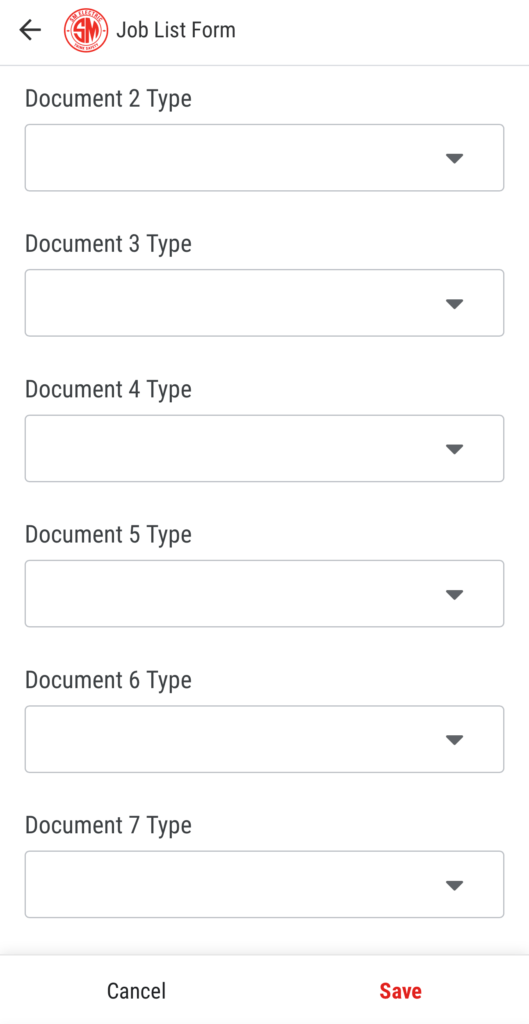
11 – Job specific documentation can be uploaded in the Document # Type fields 1-9. To upload a document select the type from the drop down menu in the Document # Type field and tap “Done” in the bottom right hand corner of the screen.
12 – If the document type isn’t listed then tap on “New” at the top of the list.
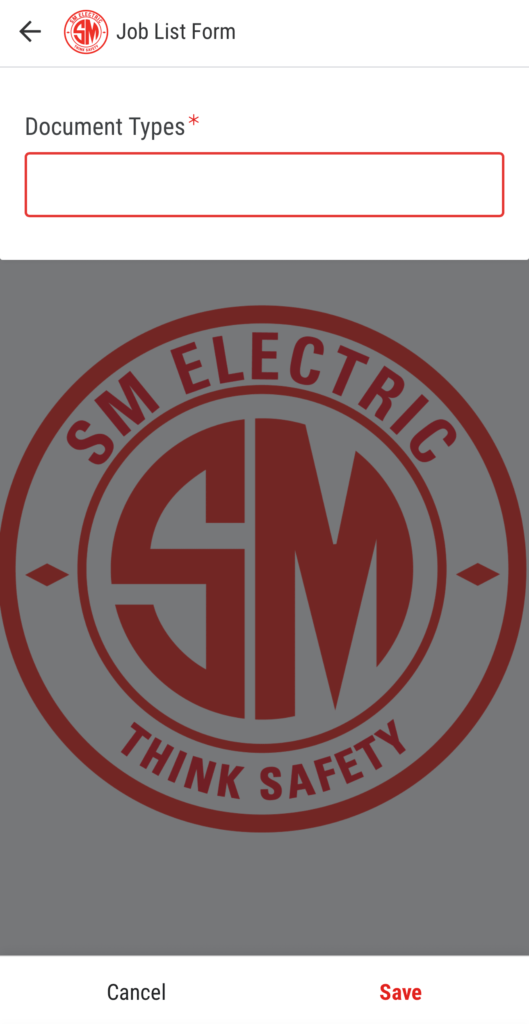
13 – Enter the new document type in the text field and tap “Save” at the bottom right hand corner of the screen.
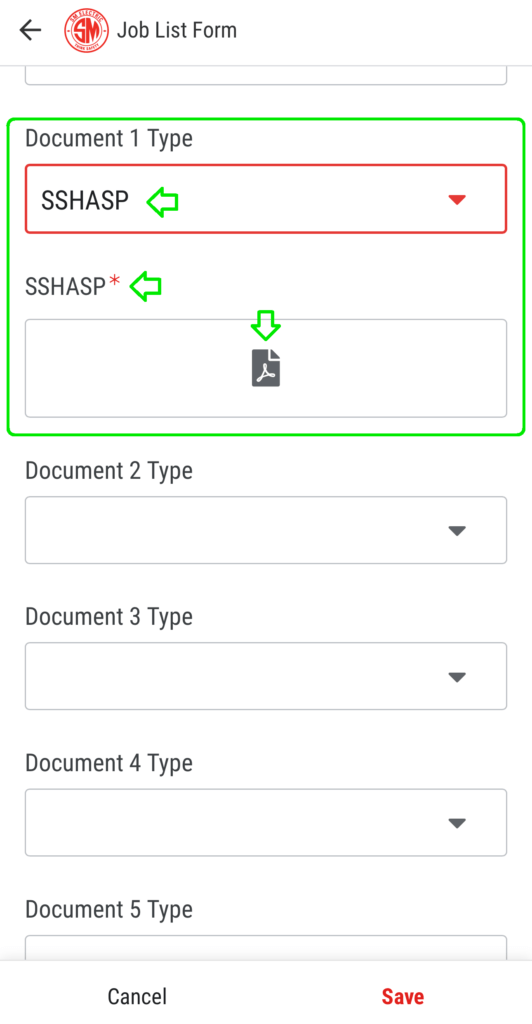
14 – Once a Document Type is selected a document upload field will appear labeled with the selected document type. Tap on the pdf icon to upload the document.
15 – Repeat steps 10-14 for additional documents.
16 – When complete tap “Save” in the bottom right hand corner of the screen.
View/Edit Job Instructions
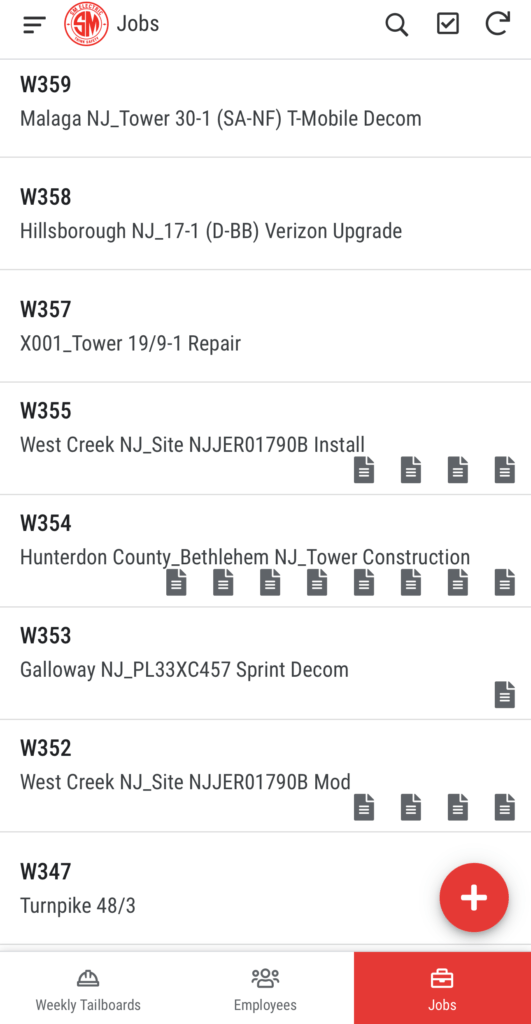
1 – To select a specific Job, find it in the list by scrolling or use the search option(magnifying glass symbol) and tap on the row.
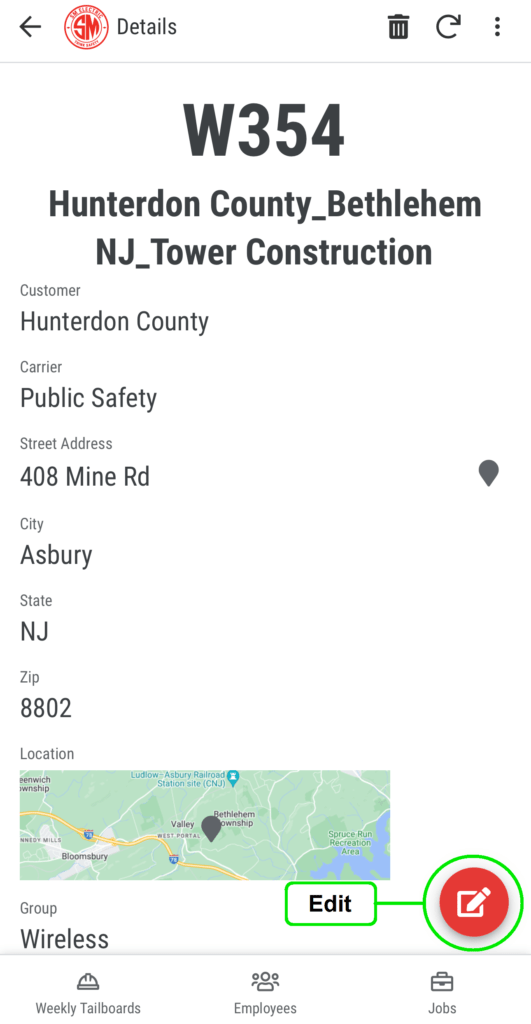
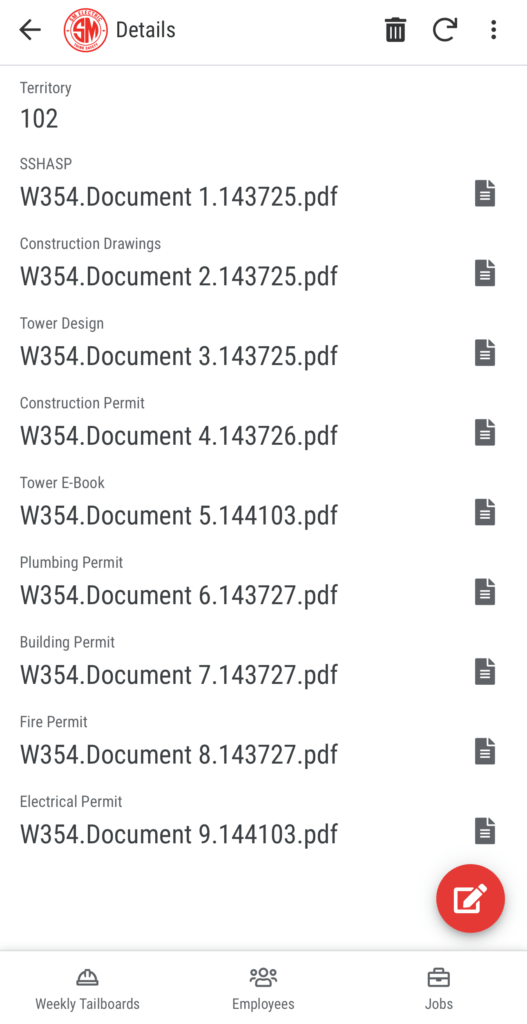
2 – In the next screen you will be able to view all the Job’s details and open any attached Job specific documents.
3 – To edit/add information to the job tap on the “Edit” icon in the bottom right hand corner of the Details screen(see middle picture) and follow the appropriate instructions from the Add Job Instructions.
4 – When complete tap “Save” in the bottom right hand corner of the screen.